 Help Center
The email channel offers a comprehensive suite of features designed to enhance campaign performance and user experience. These features include robust storage, intuitive editing tools, multi-lingual support, detailed tracking, and automated personalisation, ensuring that email communications are both engaging and effective.
Key Features
-
Unlimited Email Storage:
Store an unlimited number of emails within the system. -
Email Builder & HTML Editor:
Create custom email layouts using a drag-and-drop builder along with an HTML editor for advanced customization. -
Content Delivery Network (CDN) for Images:
Host and deliver images efficiently via a CDN. -
Multi-Lingual and Default Language Support:
Automatically detect the end-user’s language and support multiple languages with customizable default settings. -
Comprehensive Tracking:
Monitor key metrics such as sends, deliveries, opens, clicks, and unsubscribes. In-mail links are automatically replaced for tracking purposes. -
Unsubscribe Feature:
Integrated unsubscribe functionality ensures compliance and user preference management. -
Web View Feature:
Provide recipients with a web-based version of the email. -
Automatic End-User Language Detection:
Dynamically detect and adapt to the recipient’s language settings.
Email Message Preview
Before launching a campaign, users can preview and test email designs to ensure optimal appearance and functionality. There are several ways to preview emails:
-
Preview Icon:
Hover over the preview icon in the main list of emails under Channels/Messages. -
Preview Tab in Editor:
Click the Preview tab while editing a message to see a live preview. -
Send Test Email:
Use the Test button located at the bottom left of the email editor to send a test email.If the email contains centralised content tags, the system will prompt the user to select a segment for preview. This ensures that the test email accurately reflects the message as it would appear to different audience segments. By selecting a segment, the user can verify how dynamic content is displayed before finalising the email for distribution.
⚠️ When previewing or sending test messages, personalisation tags are replaced with dummy data, and the unsubscribe link redirects to a dummy web page. Users can also create a test campaign by creating a segment (e.g., “My Self”) using a specific attribute like PlayerID to target only themselves.
ℹ️ Click here for further information about Centralised Content.
Email Message Editing
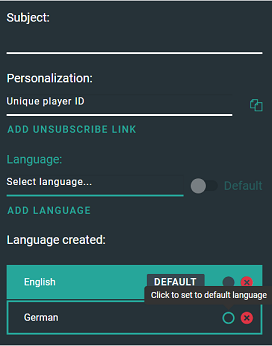
Adding a Language
- Click the Select Language dropdown.
- Choose a language from the list.
- Click Add Language.
Changing the Default Language
- Click the circle icon next to the desired language.
- Save the changes to set it as the default.
Personalisation Attributes
Personalisation attributes enable users to tailor email content dynamically by inserting variables that reflect individual customer data. These attributes ensure that each message is customised with relevant information, such as the recipient's name, surname, brand URL, and other predefined fields.
Inserting Standard Personalisation Attributes
- Steps to Insert:
- Select Attribute:
Choose the desired attribute (e.g., name, surname) from the personalisation dropdown menu. - Copy Variable:
Click the copy icon next to the selected attribute. - Paste Variable:
Insert the copied variable into the email content. This can be done in either the HTML view or directly within the email builder blocks.
- Select Attribute:
Custom Attributes from Journey Data Operations block
Custom personalisation attributes can be generated through a journey Data Operation. These attributes appear at the bottom of the personalisation dropdown list.
-
Example Use Case:
If a journey is set up to grant a 10% bonus on each deposit, the Data Operation block calculates the bonus and stores the value in a variable, for instance, named "bonus." This variable can then be referenced within an email to confirm the bonus value to the customer. -
Steps to Use Custom Attributes:
- Locate Custom Attribute:
Scroll to the bottom of the personalisation dropdown list to find the custom attribute generated by the Data Operation block. - Copy and Paste:
Use the same copy and paste process as with standard attributes.
- Locate Custom Attribute:
Content Variables from Centralised Content
In addition to standard and custom attributes, administrators can also insert Content Variables sourced from Centralised Content. These variables allow for further customisation of email messages.
-
Steps to Insert Content Variables:
- Select Variable:
Choose the desired content variable from the dropdown menu. - Copy and Paste:
Click the copy icon and paste the variable into the email content.
- Select Variable:
Email Builder
The email builder enables users to craft visually appealing emails using a drag-and-drop interface with a variety of content blocks.

Adding Content
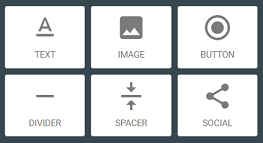
Drag and drop the following components from the Content tab into the layout:
-
Text:
For creating text content and hyperlinks. -
Image:
For inserting and uploading custom images. -
Button:
For adding button-styled hyperlinks. -
Divider:
To insert visual dividers between content blocks. -
Spacer:
For adding space between blocks. -
Social:
To incorporate social network icons linking to social media profiles.
Changing Content
- Each content block has its own settings, accessible in the right-hand panel upon selection.
- To alter text styles within any block, simply highlight the text to reveal a formatting toolbar.
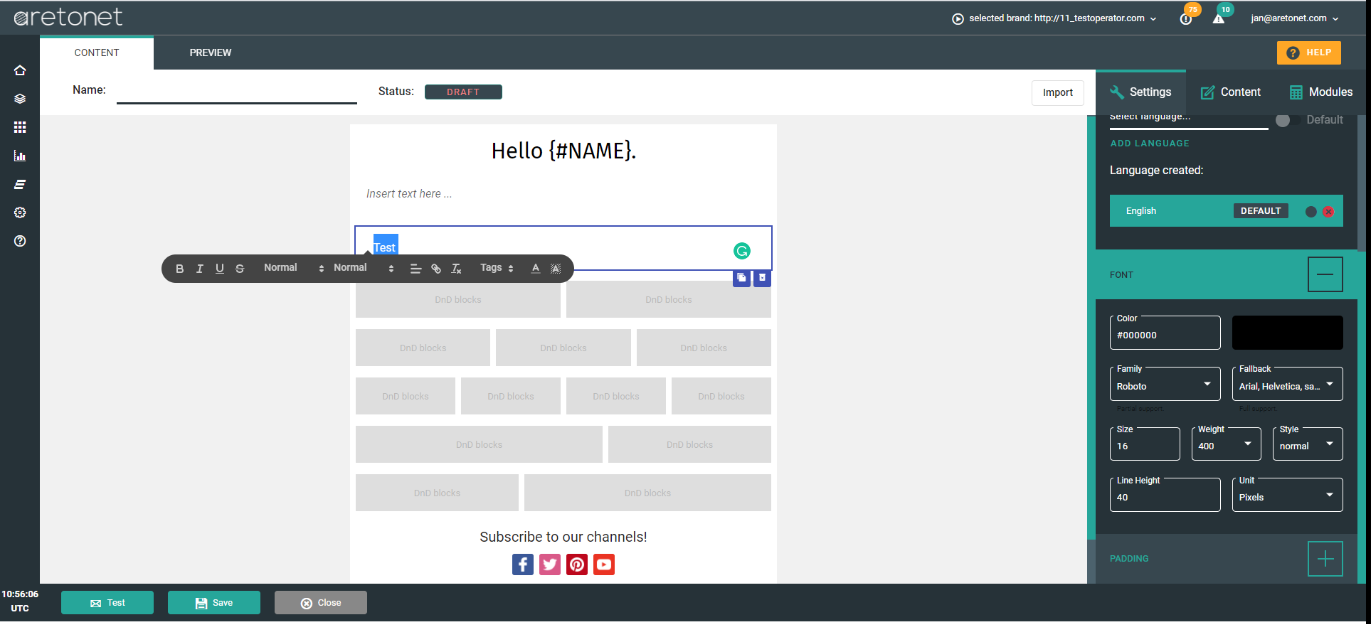
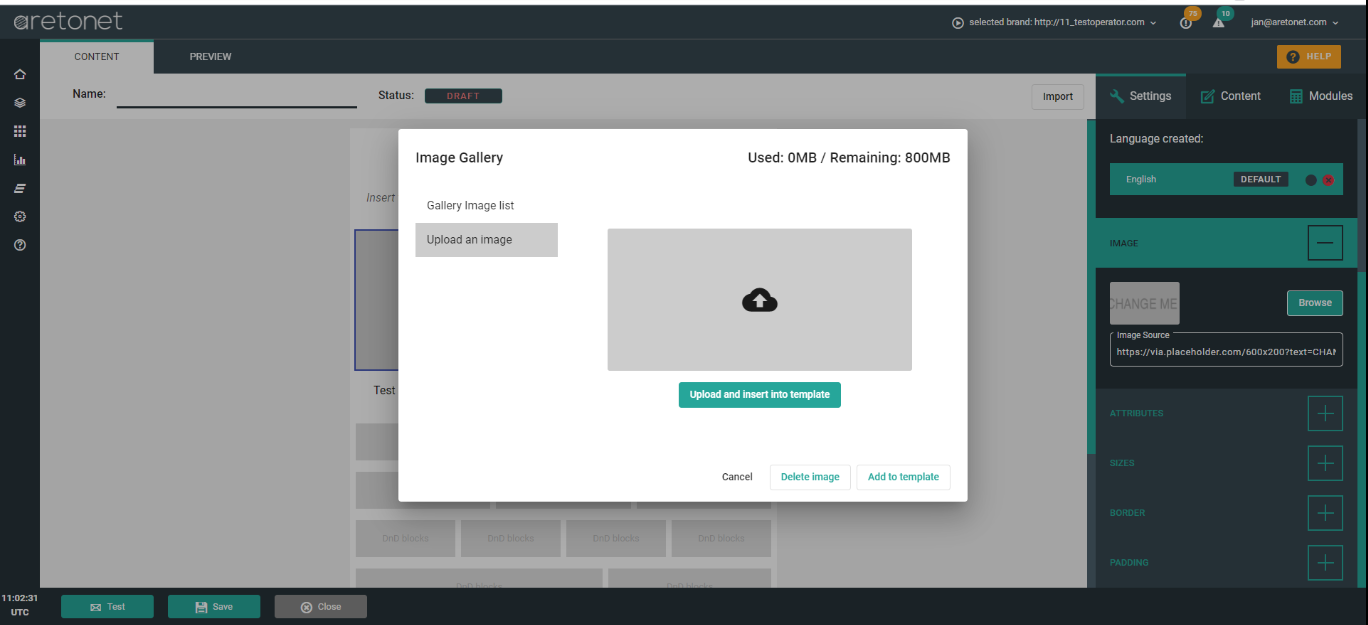
Image Upload
- Insertion Options:
Images can be added by providing a source URL or by uploading directly to WA.CRM servers. - Image Gallery:
Uploaded images are stored in the image gallery and can be reused across different email templates. - Storage Limits:
The default maximum size for the gallery is 800MB, with a maximum allowed size of 100KB per individual image.
HTML Editor
✅ Suggested read: Creating an Email Message